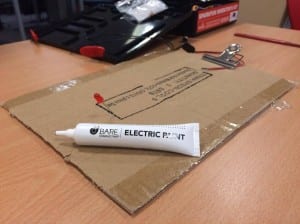
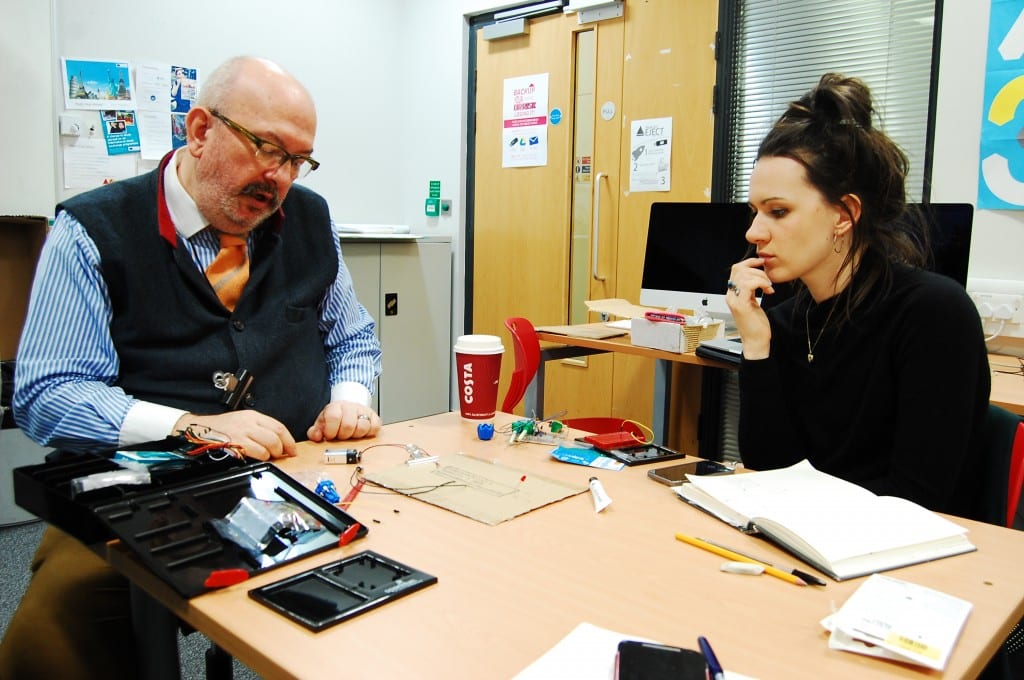
In order to decide if we want and can use conductive paint for our project we clearly had to test it first. So we bought 10ml of paint and Clive provided the electronic components. Since non of us have ever used the paint before we created the simplest circuit possible.
(insert sketch)
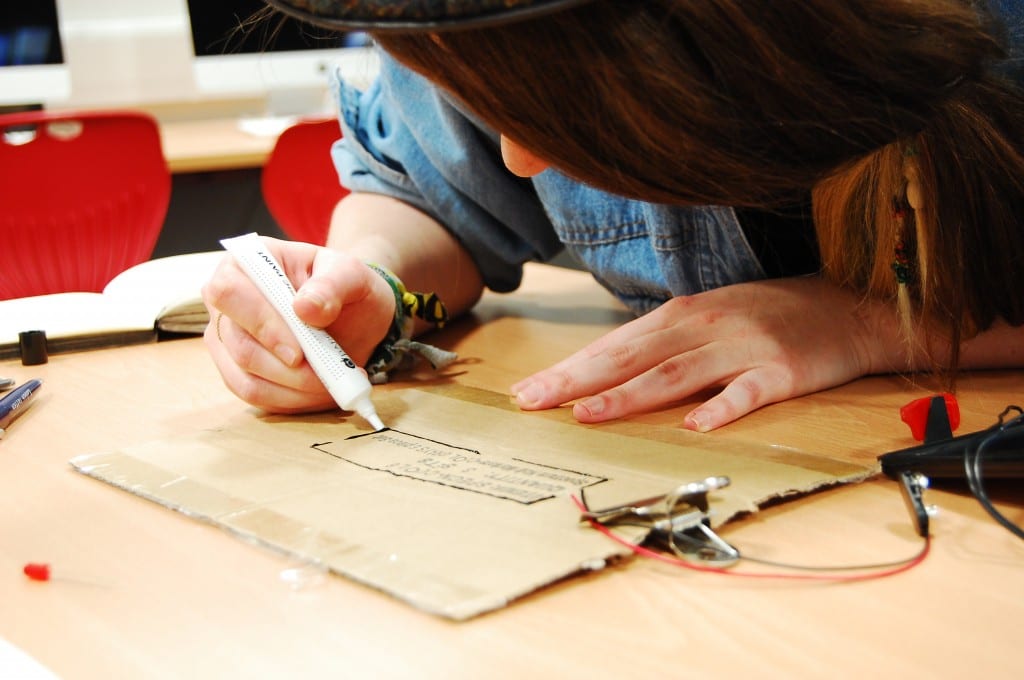
making the board is quite easy. Essentially one replaces the wires with the paint. The dryer the pain, the better it works. As you can (hopefully) see on the picture we left three gaps in the circuit: one for the battery, one for the LED and one to be able to place a switch/button for later modifications.
The paint had to dry for about 15min. To see if it work in the first place we connected the gap for the button with some wire to close the circuit. It did work. We then replaced the wire with a button and sure enough it also worked with the button. Clive not only provided the equipment but also guided us through the basics of electronics.
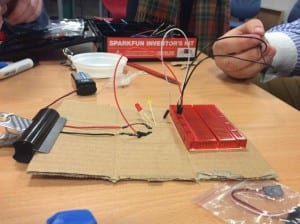
We also built other circuits that theoretically should have worked but did not (except for powering LED’s again which you can see below). This could be for two reasons. 1. The paint was sill to wet, because we were impatient and did not let it dry long enough or 2. The paint had too much resistance in it so that it was to week to send a signal.
Video Examples
First Circuit; By simply replacing the wires with the paint, it meant that a circuit could be competed. Therefore we can see the light working when battery power is applied.
Second Circuit; We created a new circuit that used the Ardino board, paint and 2 LED lights. By creating shorter wire replacements with the paint it meant the circuit was more powerful. Therefore we were able to light up to 2 lights.


Recent Comments